Permission Management
Users can access Permission Management via [Users & Roles] -> [Permission Control]. This feature allows for adding, deleting, viewing, and modifying user roles and permissions.
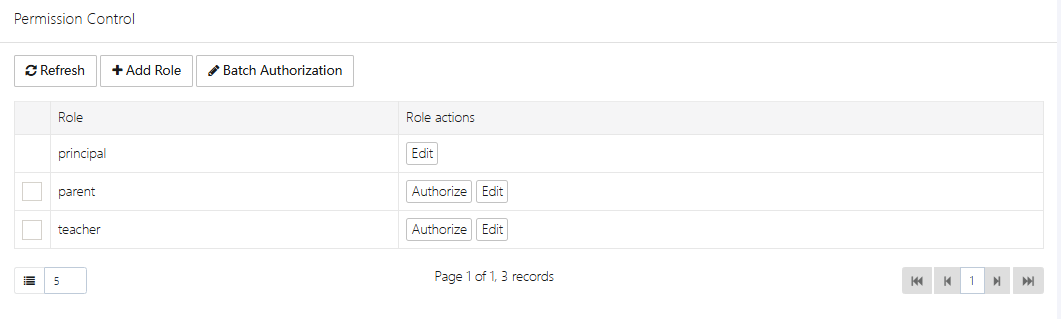
1. Add Role
Click [Add Role], as shown in the image below. In the pop-up window, enter the role name, click [Submit], and then proceed to step 2 for permission assignment.

2. Assign Permissions to Role
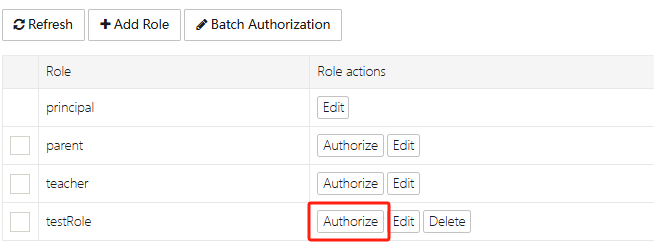
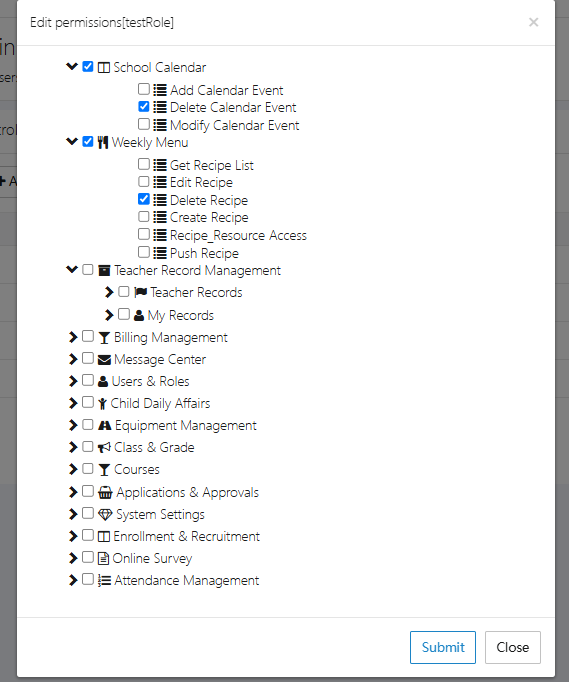
For example, to authorize the newly created [testRole], click [Authorize].
We have authorized it to delete school calendar events and delete weekly menus. After making your selections, click [Submit].
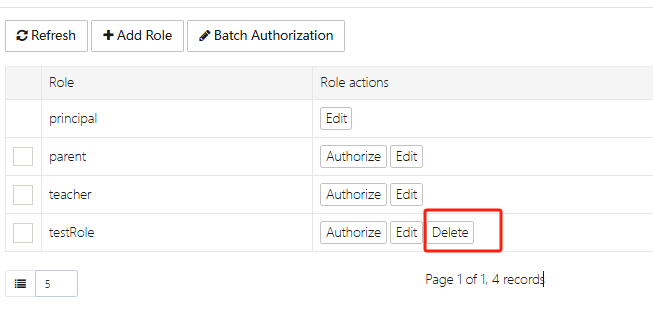
3. Delete Role
Not all roles can be deleted. Some system default roles do not have a delete button. However, custom roles can be deleted at any time.
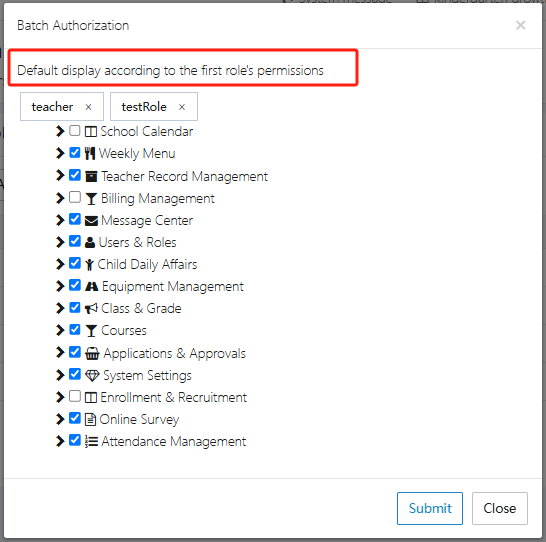
4. Batch Authorization
If you want to copy one role's permissions to another role, you can use [Batch Authorization]. The permissions of other roles will be based on the permission list of the first role.