System Homepage
After the user logs in, as shown below, different areas serve different functions.
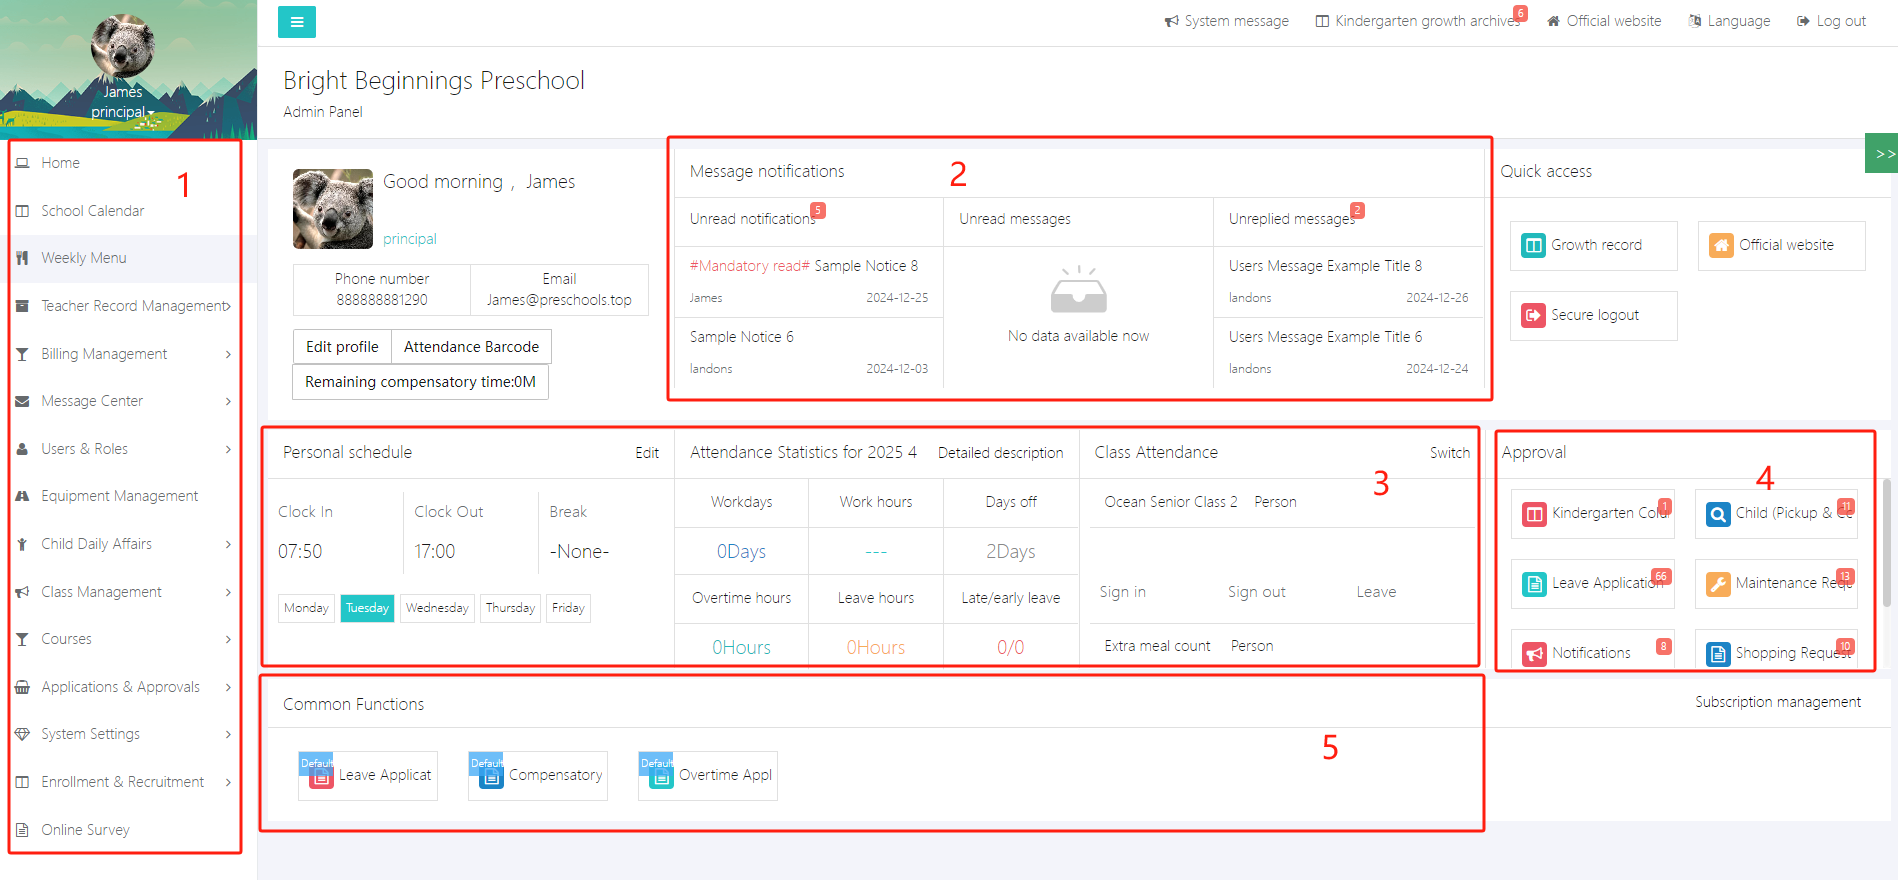
Area 1: System menu. All functions can be accessed through the menu bar.
Area 2: Messages and notifications. This will display recent or unread messages and notifications.
Area 3: Attendance and schedule. Class and personal attendance can be set and viewed here.
Area 4: Approval alerts. If you are an administrator, this area will show items pending approval such as leave or purchase applications.
Area 5: Frequently used navigation. You can use [Subscription management] to pin your commonly used functions here.
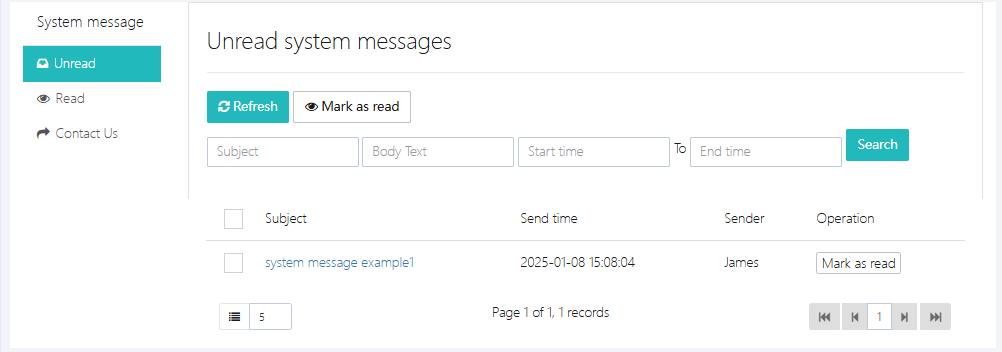
1. System Messages
System messages are usually sent by the system administrator or regularly pushed by the system, such as renewal notifications, feature activation, or upgrade announcements. Click [System Message] at the top right to view.
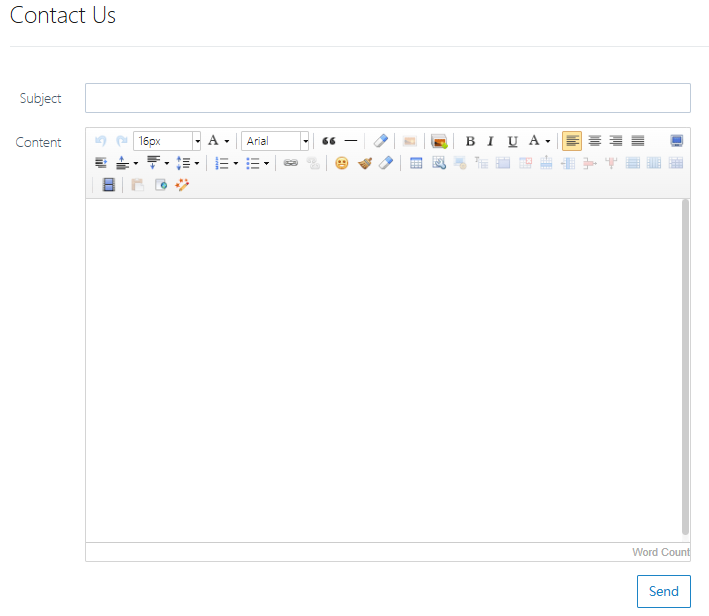
If you have questions or requests, you can use the [Contact Us] feature to send us a message. Fill in the form completely and click [Send].
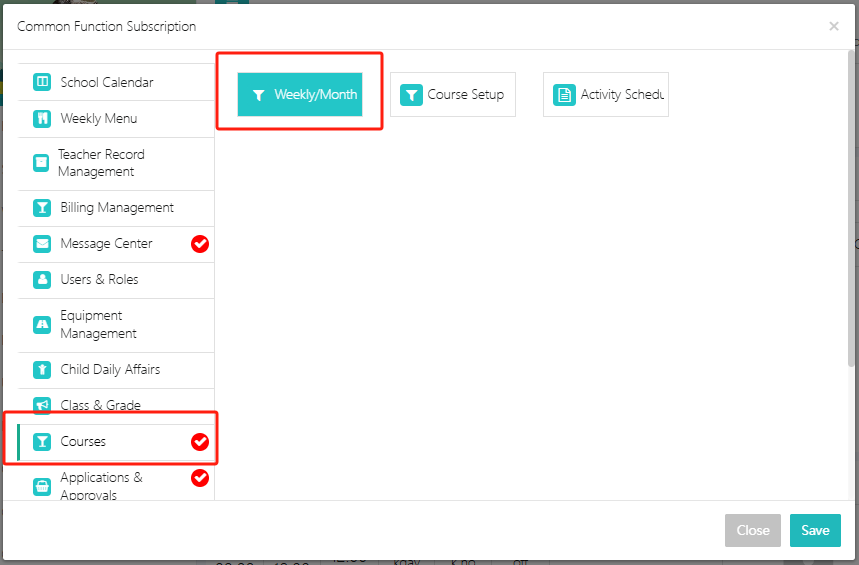
2. Frequently Used Function Subscription
The system provides a subscription feature that allows users to add quick access to commonly used functions to the homepage. Click [Subscription management] to enter.

For example, to add the weekly plan to the homepage, select it and click [Save].
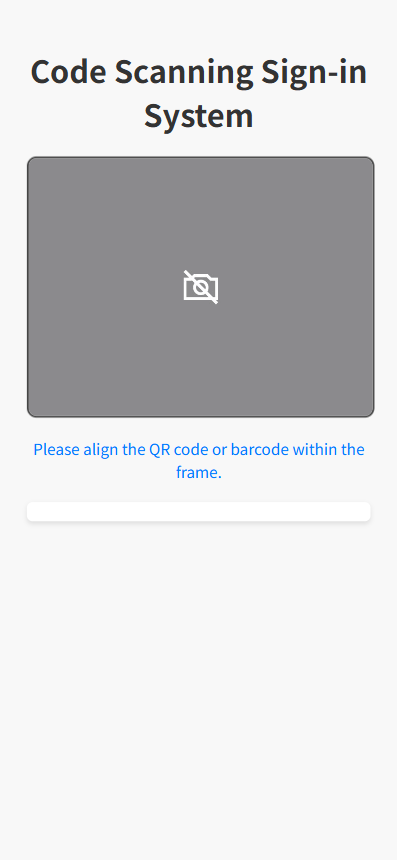
3. How Attendance?
For attendance check-in, please open https://***.preschools.top/OA/scan.html on your mobile phone. (The '*' represents your school's prefix.)
This webpage feature can be added to your mobile home screen. Here's how:
Add a webpage to the Home Screen on Android:
- Open your webpage using Chrome Browser.
- Tap the three-dot menu at the top right.
- Select "Add to Home screen" or "Install App" (some devices may display "Add to Home screen").
- You can customize the name (e.g., "Scan Check-in"), then tap "Add".
- In the pop-up confirmation window, tap "Add" again. The icon will appear on your home screen.
Add a webpage to the Home Screen on iPhone:
- Open your webpage using Safari Browser.
- Tap the Share button at the bottom (a square with an upward arrow).
- In the pop-up menu, scroll down and select "Add to Home Screen".
- Enter a name for the webpage (e.g., "Scan Check-in") and tap "Add" at the top right.
- The icon will now appear on your home screen 🎉
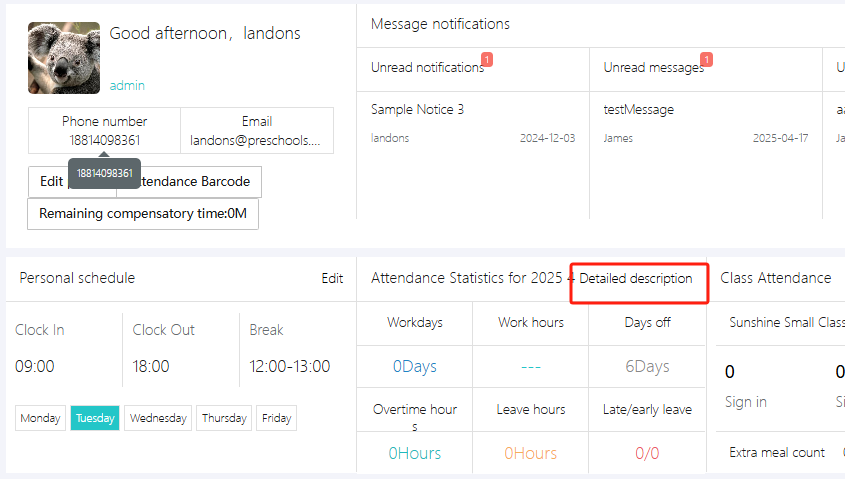
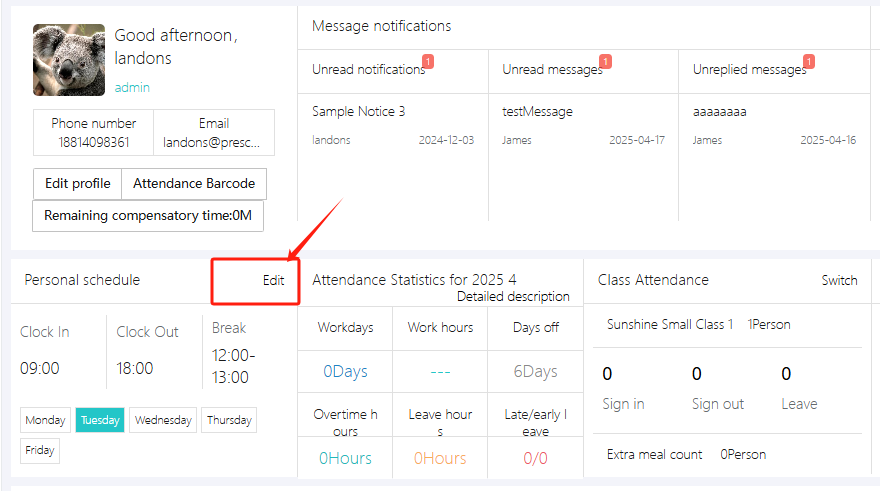
4. View Attendance
To view your own or other teachers' daily attendance, click [Detailed description].
You can switch between personal and all staff attendance views. Note: Without sufficient permissions, you cannot see others’ attendance.

Under "Teacher Attendance", you can export attendance data for all teachers via [Export monthly attendance].
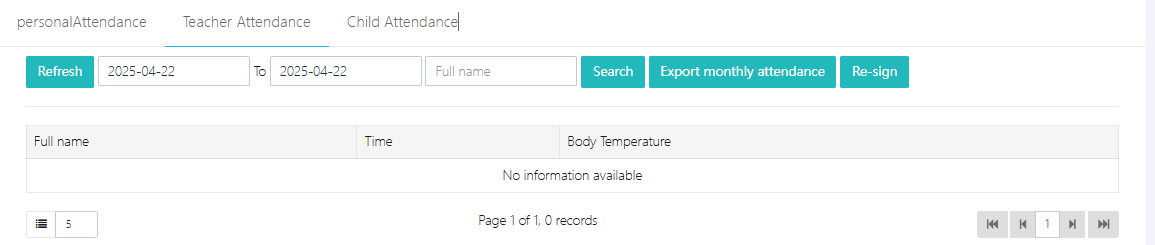
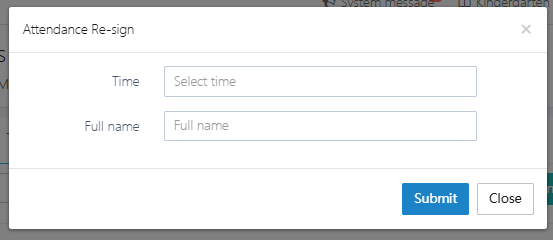
[Re-sign] is used to add or modify attendance data manually.
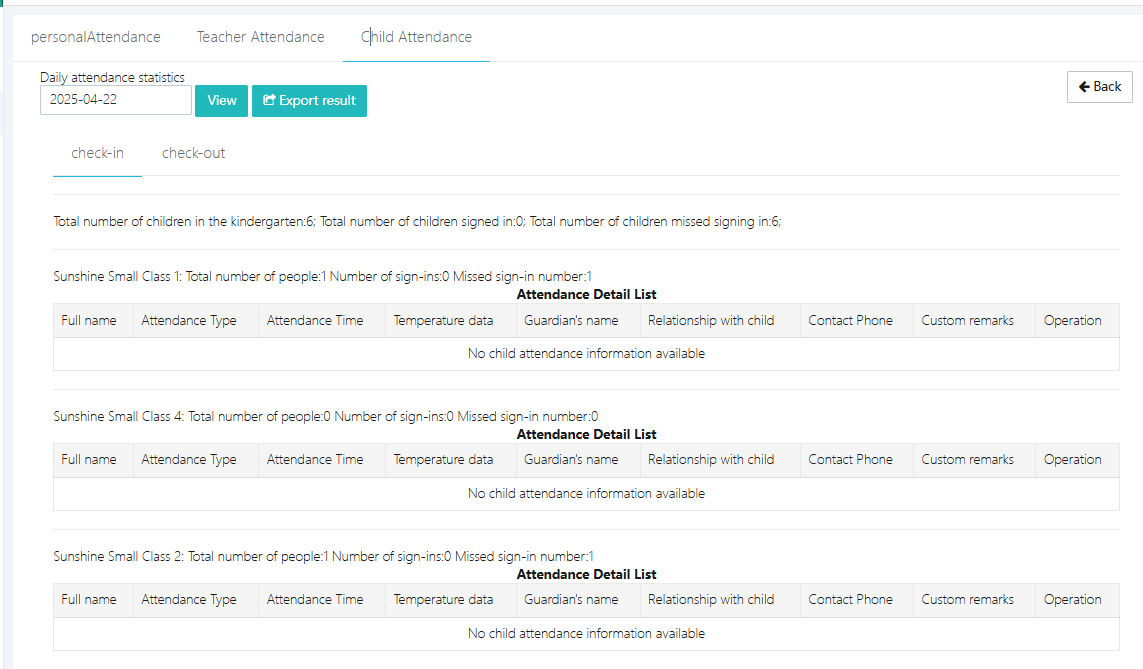
5. View Child Attendance
Click [Child Attendance] to enter the function.

Here you can view daily attendance statistics using [Daily attendance statistics] and record check-in and check-out data.
To check a specific child’s attendance over a selected period, click [Statistics].

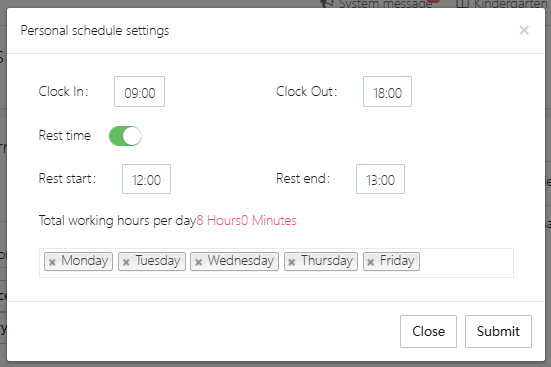
6. Edit Personal Work Time
Everyone must set their personal work hours, or attendance exports may be inaccurate. Click [Edit] to configure.
After setting, click [Submit].
7. Edit Personal Information
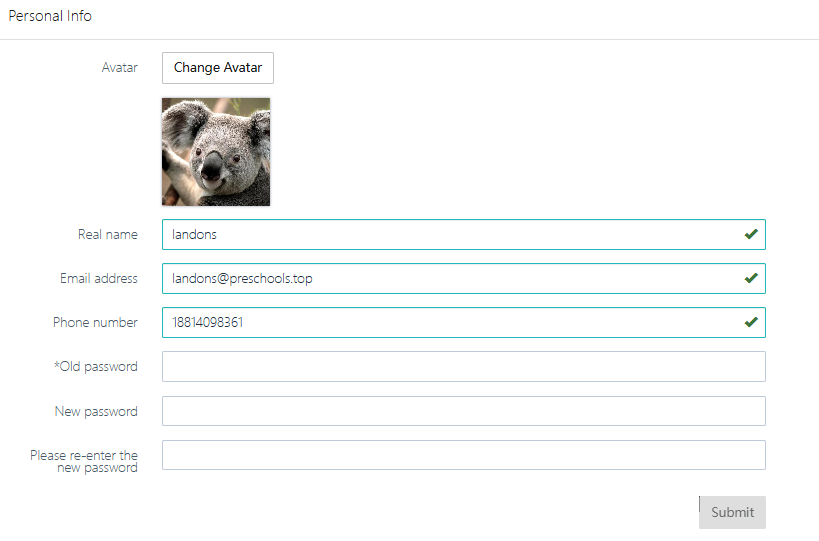
To update personal information, go to [Edit profile].
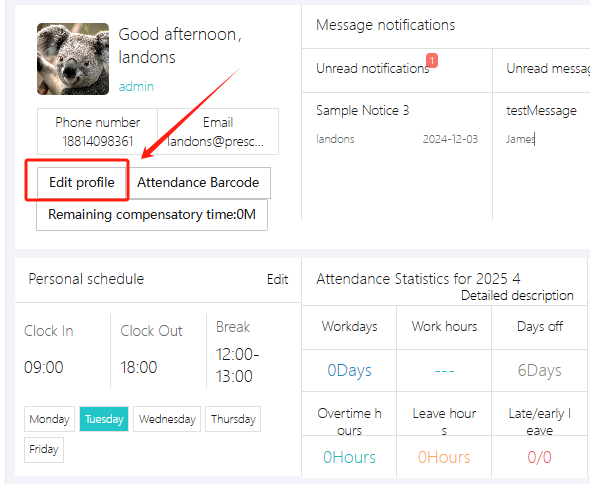
After editing, click [Submit].
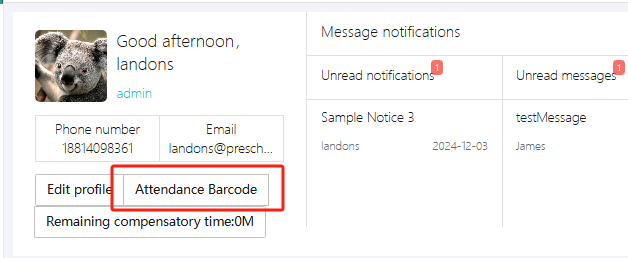
8. Download Personal Attendance Barcode
You can download your personal attendance barcode via [Attendance Barcode]. The image can be saved to your phone or printed, so you don’t need to log in to access it.
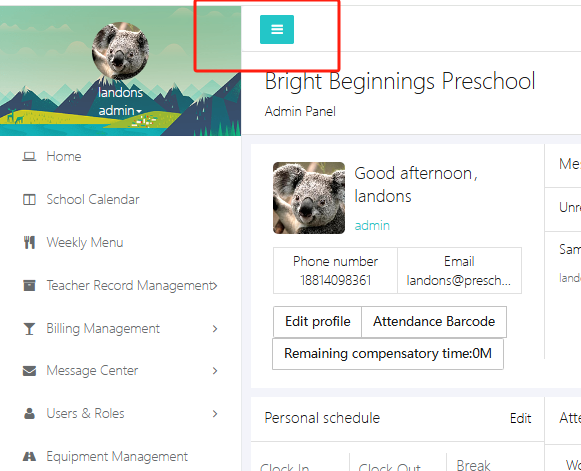
9. Collapse Menu
If you don’t need the left-side menu, you can collapse it by clicking the button shown below.