Inventory Management
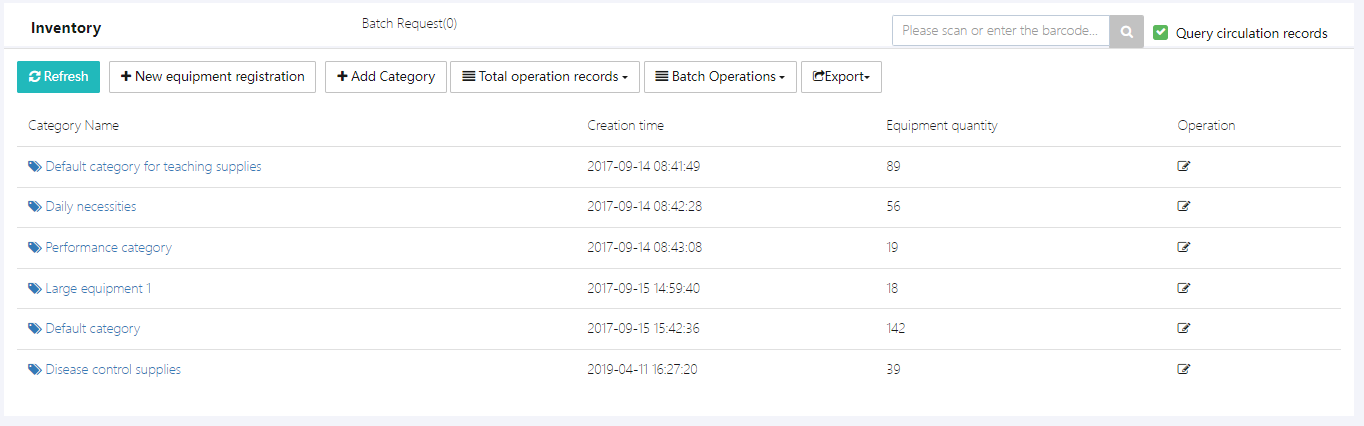
In the school, all items and materials can be managed within this function. Users can click Equipment Management → Inventory to enter the function, as shown in the image below.
Note: [Default category] is the default category and cannot be deleted.
This function can be used in conjunction with the shopping application module. The workflow is as follows:
Shopping Application → Approval → Applicant Purchases Items → Items Stored. For offline purchased items or those existing before the system went live, they can be added via [+New equipment registration].
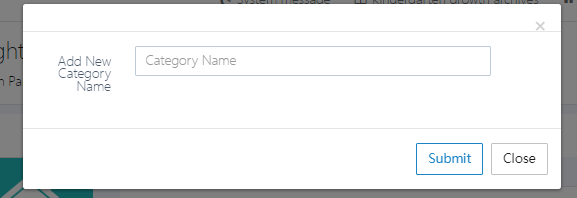
1. Add Category
Users can set their own categories based on the school's needs. Click [+Add Category], fill in the category name, and click [Submit] to submit it.
2. View Items Under a Category
Click on a category to enter it. For example, select [Default category for teaching supplies].
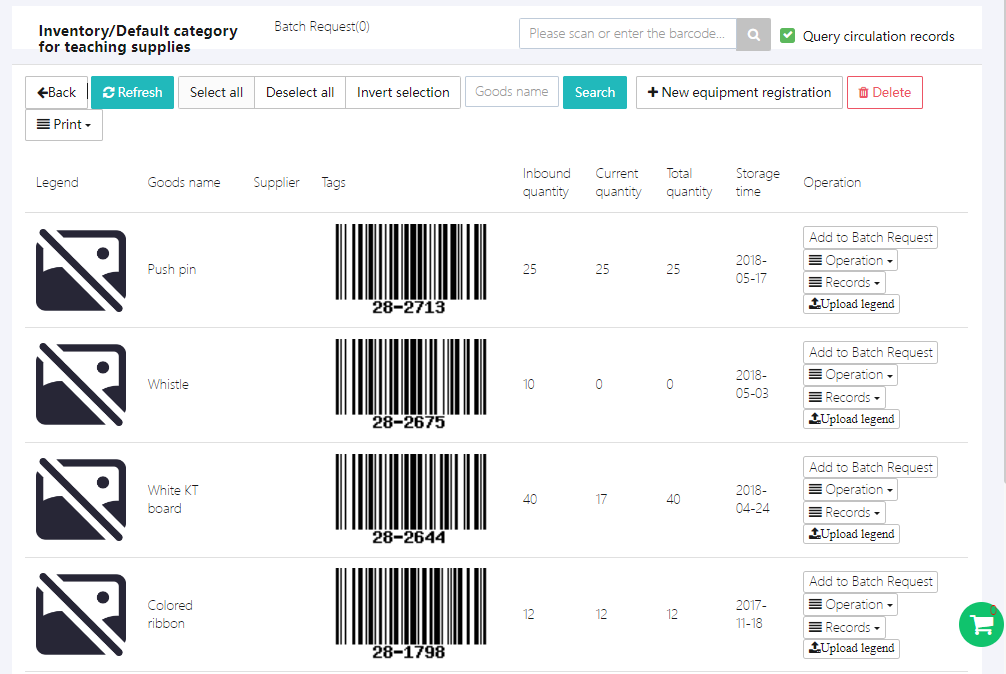
Under each category, you can view item images, names, item codes, current stock quantity, borrowed quantity, and more.
3. Borrow/Request Items
To borrow or request an item, click [Add to Batch Request] to add it to the shopping cart in the bottom right corner. Then, perform batch operations, which are similar to online shopping.
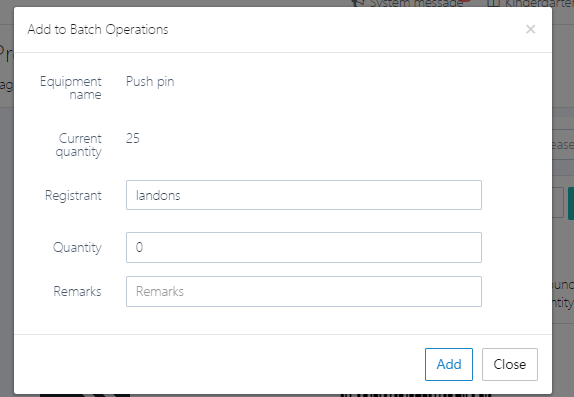
Fill in the quantity to borrow and the applicant’s name. After clicking [Add], it will be added to the "shopping cart".
After selecting the items, click the "shopping cart" to view all items in the request list, as shown below.
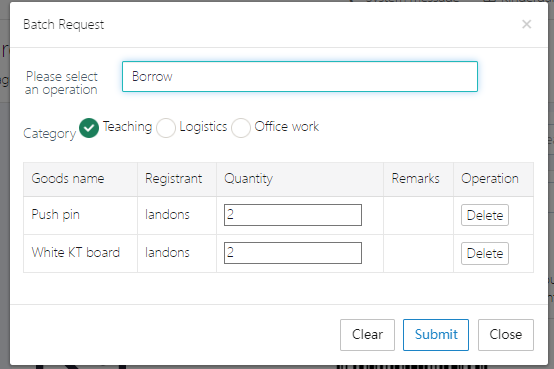
Choose whether to borrow, request, or report damage, then confirm the quantity. If everything is correct, click [Submit] to submit the request.
4. Modify Item Legend
Items should have legends uploaded, as the same item (e.g., a pen) may differ in type. To ensure users can easily identify the correct item when borrowing, use [Upload legend].
5. Increase Item Stock
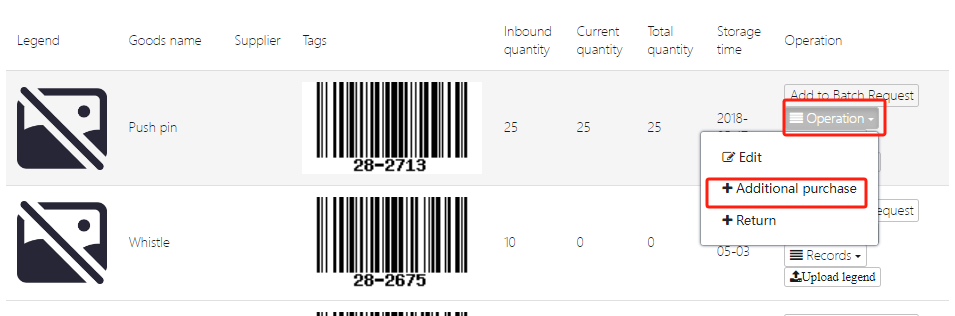
There are two ways to add stock to an item: through [Shopping Request] or by directly modifying the stock quantity.
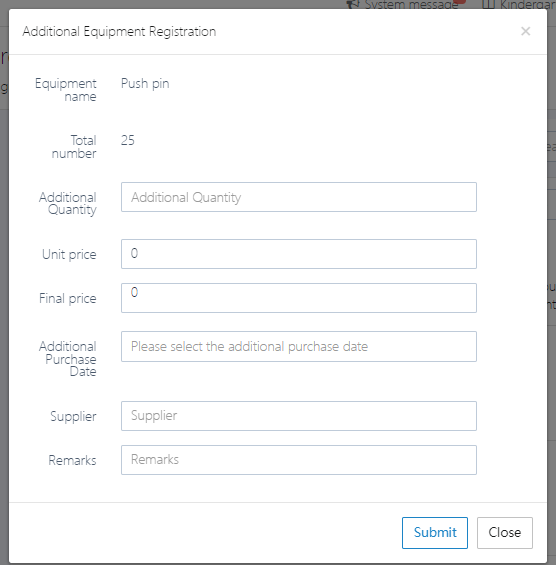
Click [Operation] → [+Additional purchase] to add stock, as shown below.
Fill in item price, quantity, supplier, and other information as required by the system, then click [Submit].
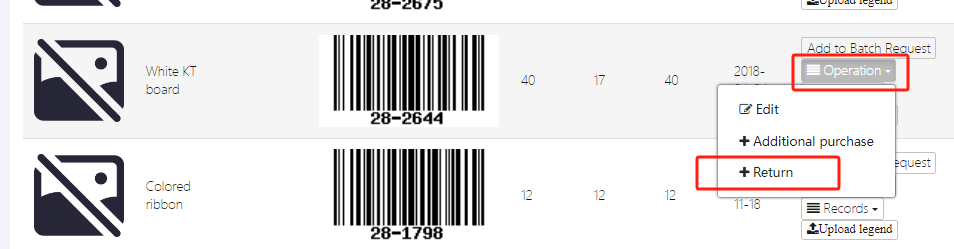
6. Return Items
When users need to return borrowed items, they can click [Operation] → [+Return] to proceed, as shown below.
If multiple people have borrowed the same item, select the specific borrower.
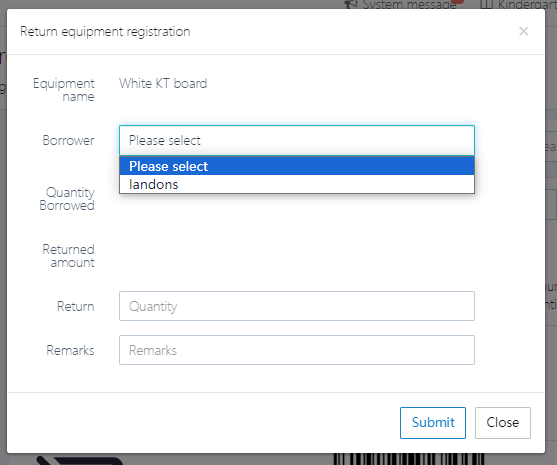
Fill in the quantity and remarks, then submit.
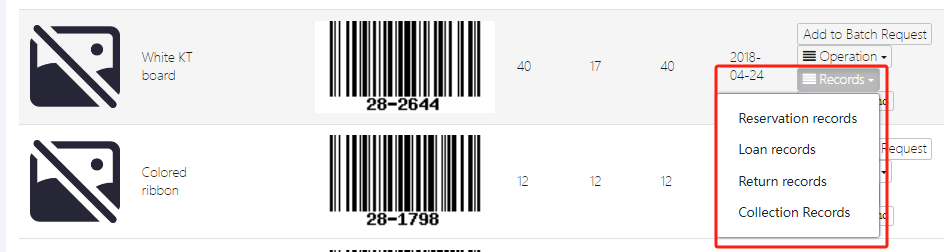
7. View Item Circulation Records
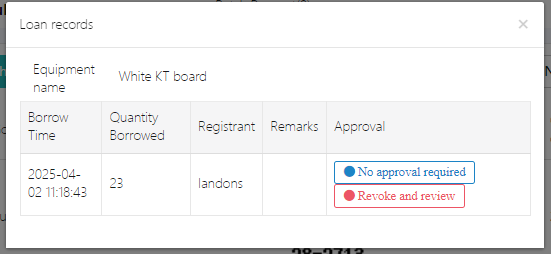
To view records such as borrowing, damage reports, and returns, click [Records] → [Loan records].
Detailed circulation record:
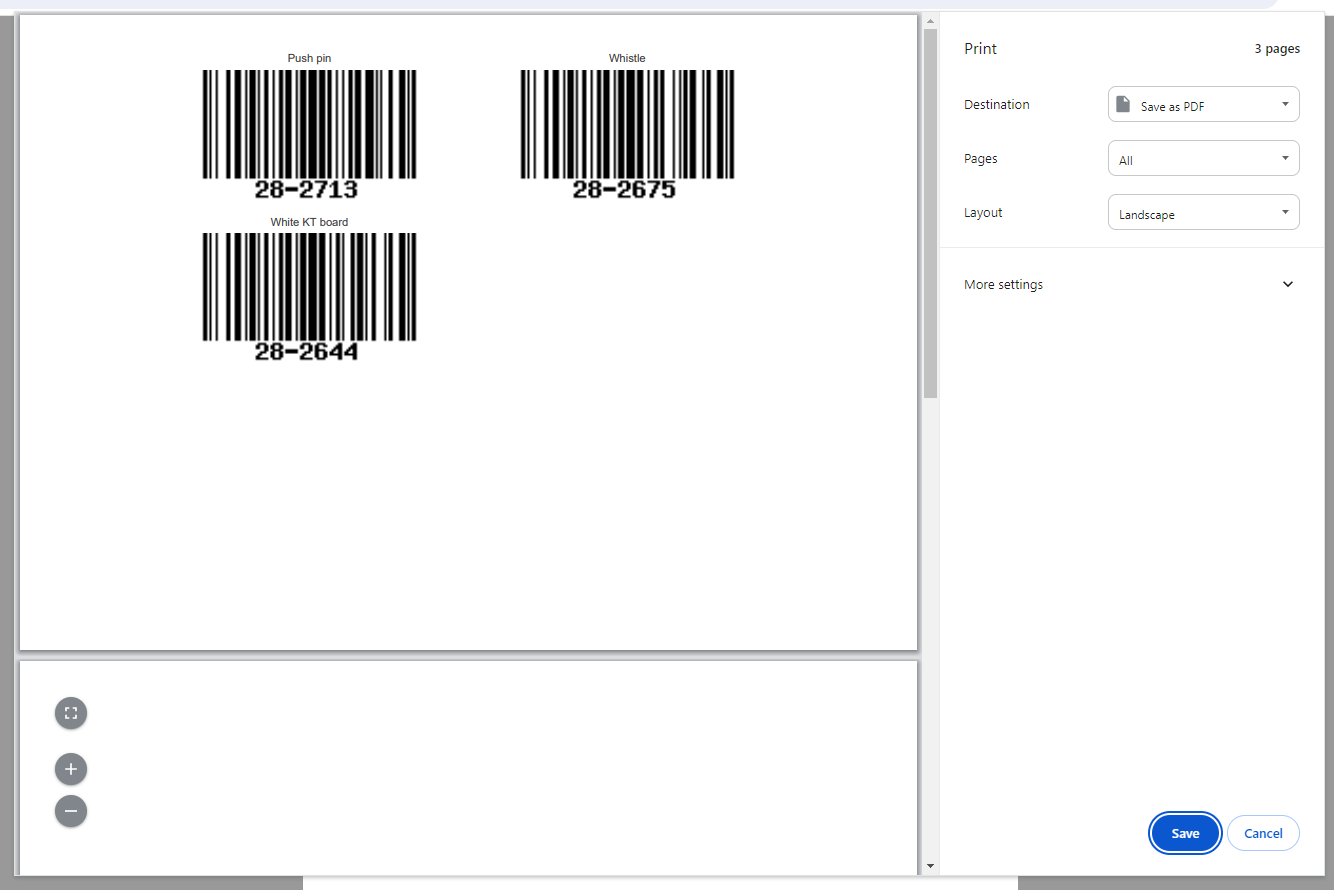
8. Print Item Barcodes
When performing asset management, you can print barcodes for each item and attach them to the relevant items.
Select the items to print and click [Print].

The webpage will automatically redirect to the print page, as shown below.
9. Register New Items
For items not yet in the system, users can click [New equipment registration] to add them. For existing items, simply modify the stock quantity.
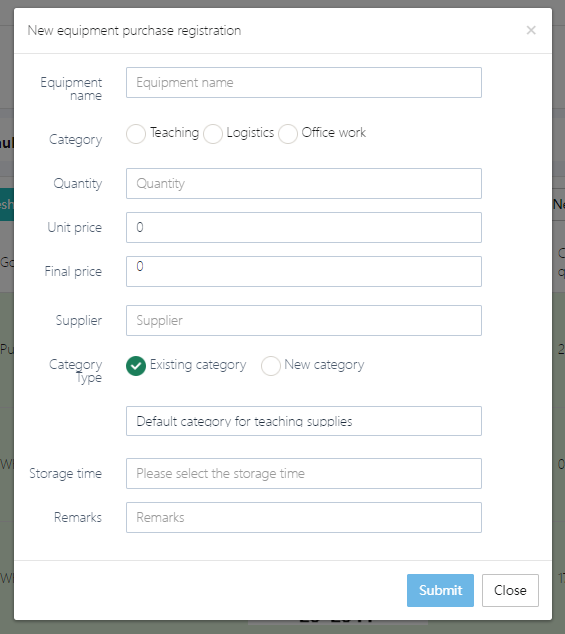
For new items, fill out the form as required by the system. For [Category Type], you can choose an existing category or add a new one.
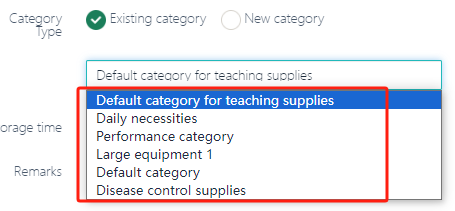
After completing the form, click [Submit].
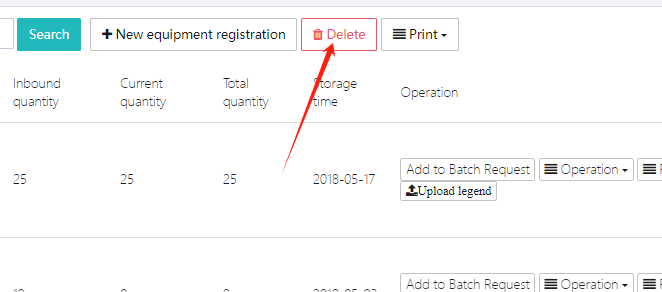
10. Delete Items
To delete an item, select it and click [Delete].